Showing posts with label HRGG. Show all posts

Wednesday, 13 August 2025

The Sacred Mole of Ukkert

   My buddy Cecil and I got together, for a game, for the first time in almost two years. We decided to play a 30 point game of Osprey Publishing's Dragon Rampant.
The Scenario was The Sacred Mole of Ukkert. My Brave soldiers had recovered the sacred mole's Carrying device and were taking it back to our homes.


The way was clear.


When suddenly Ukkertians appeared to our Left and in the far distance,


My Elite Riders un wisely wild charged the Dragon and my Heavy Riders charged the Ukkertian Heavy Riders in the valley.

 Inspite of some truly spectaclar dice rolling from my Heavy Riders.

They hit on 3+

Neither of my calvalry units could pass a courage test and rolled badly enough to rout off the table. Leaving the Dragon and Ukkertian Heavy riders in play.

My cultists (Scouts) move behind the woods while my Heavy Foot, with attached wizardling, moved to intercept the Dragon, the Giant moving to the flank of the Feavy Foot. My archers (Light missiles) have so far failed every attempt to get them to move, its now turn five and every time they attempt to move they roll three I kid you not.


The Dragon and the Gaint fight. My giant coming out on top. The giant then stomps Cecil's Elite foot, literally. The Ukkertian Heavy riders charge my Heavy foot and win and once again I roll badly for courage only two casualties, but a snake eyes on my courage roll sees them rout off table. The Ukkertian Heavy riders then charge my Giant and kill him. My cultists shoot at the heavy riders but miss then my archers get to shoot and kill the last Heavy Riders. 

It is 2:1 in my favour, my archers and scouts vs. Cecil's sharpshooter archers.

Cecil's archers slaughter my Scouts then later batter my archers, at which point I concede.

Wednesday, 13 December 2017

Wild West weekend

I was scheduled to run this Month's game for one of my wargaming groups session and figured it was time for me to breakout a Wild West game. It's been at least 7 years since I ran one, I just couldn't find a set of rules I liked and also thought would be fun for the players and eventually I kind of forgot I had Wild West stuff.

Late last year I picked up Shoot n Skedaddle (from Turnstyle games), and thought they looked like they would fit my stringent requirements (fun to play and easy to run). I haven't ordered the cards yet as they are (with shipping) somewhat expensive, so I bought the PDF cards, printed them out and stuck'em in card sleeves and made my own versions of the character cards to match my figure collection.

In preparation on Saturday (December 9th) I took the rules and stuff to the Hamilton Road Gaming Group for a trial run and ran two games. Just one picture of the games. First game had 2 players and I learned 6 characters is too many for one player to run. Second game, both players ran 4 characters and things went more quickly. Might have made some sales for Turnstyle Games.
Shinbone shoot out at the Crouch aka the HRGG

Experience gained, I then ran two games Sunday (10th December), again in my Wild West town, Shinbone.

The first game was scenario one, with each of 4 player drawing 3 characters, one player drew a cowboy and both Soiled Doves (I suggested he swap one out for a redraw but he declined). No pictures of that game. It was mainly to get everyone acquainted with the rules.

We broke for lunch and afterwards played scenario one again with new characters.
Outlaws hanging around near the Saloon,
Some of the forces of Law and Order, The Judge (inside) and Mountain Man in the street,

Bodies piling up at the corner of the Dry Goods Store

Mountain man's body atop Herman's Feed and seed.
Mid way through the game, the Lawmen turned one of the outlaws (via special card), but then the outlaws almost immediately had a townsman join them (via another special card) he popped up near the corner of the dry goods store, very near the end of a turn, and so got both actions quickly. Oh and he had a Mare's Leg
3 men remain, a pair of outlaws vs. the Bounty Hunter (atop the Sheriff's office). One outlaw has taken a hostage, but all doors are locked and he can't climb over a fence with the hostage (and refused to turn her loose).

The game was called at that point, Bounty Hunter had a carbine but the only target he had was the hostage taker who was rooted in cover with his hostage and the other outlaw was wounded (and not coming out).

Players had a great time, but now expect more games of this, I guess I'll have to level up my terrain, Thanks! Turnstyle games. Might have made some more sales for Turnstyle Games.

One thing players didn't like was the amount of one shot weapons, (by one shot I mean you get 1 shot then have to reload before you could shoot again), but that could just have been the luck of the draw.
Tuesday, 10 January 2017

A near run thing at HRGG

Last Saturday saw another Blucher game take place at the Hamilton Road Gaming Group, located in the Crouch Branch of the London Public Library.
The players were Cecil (Craufurd), Mike (Hill) Jordan (Ney) and I (Drouot)
A battle using two 305 point armies using the 100 days lists.

Both sides split their armies into 2 all infantry corps and an all cavalry corps. The British attached all eleven of their foot batteries to brigades, opting for the additional die when shooting, but massed their 3 horse batteries and attached it to the Cavalry corps. 

The French attached a cavalry brigade to each of their infantry corps and massed all their artillery into 2 Horse, 2 Heavy and 3 Foot units.

Both sides had an army morale of 6.

The British set up with their cavalry on their right, Craufurd's corps on the hill and Hill's corps behind the woods on the British Left.
The French set up their cavalry corps on their Left, I Corps with Drouot attached in the middle and Ney's II corps on the right.
Stars represent the objectives
Ney sent II corps forward over the hill at Hill. French I corps occupies the village and sends 3 more brigades forward to fix in place (and reveal) the British on the hill.

The entire British cavalry corps races into the center to threaten Ney's open flank, its horse battery opens fire and scores 3 hits.
II corps advances on the far side of the stream and the British cavalry rushes to threaten their flank. in the foreground French Heavy artillery opens fire on Craufurd's troops.
The French heavy batteries open fire on the British on the hill, causing some casualties, the French Cavalry corps waits in reserve.

Ney's lead brigade takes 2 more hits from the British Horse battery (they are down to 1 elan), Ney Swoops in to rally them, does and dies! (it's turn 5).
The death of Ney
Hill and Ney exchange fire for a few turns, with II corps coming off worse. Its actions only manage to fatigue only 1 British brigade, which cravenly retires. At one point Ney's successor got his cavalry behind the Hill's front line and charged a unit in the rear, with an infantry brigade flanking it as well, but was unable to break it, and the cavalry ended up retreating off the opponents table edge (counting as broken).

French I corps engages in a firefight with the Craufurd's troops on the hill, while Ney's successor fights both Hill's II corps and the British cavalry corps.

Ney's corps eventually gets ground up having 4 units Broken (counting the cavalry that left the table) and many units sitting at 2 or 3 elan, but drawing all the enemy cavalry to the far side of the battlefield, at which point the French cavalry corps goes into action, moving onto the flank of Craufurd's corps, which forms squares, and the French Artillery gets to work softening them up and cavalry charge them, quickly breaking 5 units in three turns.

On the far side of the British cavalry make another attempt to break some of Ney's troops but a series of bad rolls for the British see no French units lose a single combat.

Both side are sitting at 5 units broken.

Craufurd's surviving brigade falls back towards the Northern ford, looking to join with Hill, but a French cavalry brigade forces them to square. Five French batteries open fire on him, the first 4 (15 or so dice) and do a total of 1 hit, then a horse battery, barely in range, open fires with 4 dice and gets 3 hits (three 6's and a 2) breaking him.
The open spot just in front of the French Cavalry is where Craufurd's last brigade was destroyed by the fire of 5 massed batteries.
The British army has 6 units broken (in Blucher at the end of each turn victory is checked by asking is your army Broken?), so they regardless of what they do they have lost but as the French are one unit away from breaking themselves, we decided if the British can break a French unit they will get a draw. They launch 3 Brigades of cavalry at 2 French infantry brigades (a slim chance, but a chance) the French are in squares. The don't break either one and the game ends with a French Victory.
British cavalry preparing for their last ditch attempt to deny a victory to the much detested French.
Result: Crafurd's Corps was completely destroyed, Hill's corps had 2 units retire and a bunch of casualties (General Hill died trying to unsuccessfully inspire his troops), Ney died and 5 of his Brigades followed him. Drouot did little, except attach himself to THE Horse Battery and claims it was him laying the guns that resulted in its exceptional last shot.

22 turns.
4 1/2 hours
4 Players (2 of which had never played Blucher before).

Wednesday, 16 November 2016

The Men Who Would Be Kings game at HRGG

"Just Passing By"

That is the name of  Scenario A from "The Men Who Would Be Kings" rules book.

The objective of this scenario is to accumulate more victory points than your opponent. Both sides receive points for exiting off the opponents edge, the more figures the unit has the more points it is worth, they also get points for destroying enemy units, but more points for exiting. there is also a big bonus for the first unit to exit off the opponents edge.

British table edge
Zulu Table edge.
Both players (Stephen and Bob) had not played these rules before, one of the players started war gaming a mere 6 month ago.

The attacker sets up no farther than 2' from table corner along the short table edge, his opponent on the opposite side.

Both sides initially had the same strategy, exit as many units as quickly as possible from the table edge opposite their start positions, and hope to get the first unit off the table, the Zulu changed their plan as soon as the saw how rapidly the NNH were covering ground and opted to hit the British on their side of the road, get points for killing and then exiting some full strength units (which are worth more VPs). The turn after the Zulu changed the axis of their attack the NNH failed to move for 2 consecutive turns. The Natal Native Horse thereafter never again failed an orders test and were the first to exit, and the Zulu failed more than a few actions test and stalled just inside long range of the British rifles, but eventually got moving and easily destroyed on unit, and charged the other but surprisingly lost the melee. The British formed close order line got a volley off, but were down to 6 figures when a full strength impi hit them 16 -8, but wait since the Brits were close order only 8 fierce Zulu could fight, the close order line won, but was reduced in numbers so could no longer get the benefit of a close order, and next Zulu turn were wiped out, causing pin tests on the NNC and the British behind them, the NNC passed whereas the Brits failed, it was around this point the NNH  point exited they table (the first to do so). The Brits recovered an eventually started firing on the Zulu remnants, eliminating most of them, the Zulu exits a full strength impi and the game was called at this point. A British victory 9-4.
Midway through the game Zulu have crossed the stream, the Natal Native horse have been watering their horses for 2 turns, due to failed move actions

The NNH has exited, 2 British units have been destroyed as have 2 Zulu units, but 3 Other Zulus units have been shot up pretty badly.

The remaining unit of Red Shirts hiding behind the the Natal Native Contingent....er I mean the Red Coats are offering close support for the NNC. A Full strength unit is leaving the table at the top of the picture.
This picture is at game end, the Zulu unit at the top left, exits in its next turn.


Monday, 14 November 2016

Anglo-Zulu war game prep


I got these rules in September and have been itching to give them a try.

"The Men Who Would Be Kings" from Osprey Games.

Some of the guys at at the Hamilton Road Gaming Group, here in London, Ontario, Canada, were going to be playing some "Disposable Heroes and coffin for seven Brothers" which I wasn't in the mood for. I offered to run a game of these if anyone was interested.

The book suggests Scenario A "Just passing By " as the first game.

In preparation for this game I had to once again dig out my Brits and Zulu, which I have not used in about a 5 years. I thought I had enough painted to run it right away, but alas I didn't. I had to paint my NNH. Which I proceeded to do in a few evenings, and since I was working on the mounted guys, I figured I should finish basing the dismounted figures which have been waiting 5+ years for me to do so.


Then I dugout 3 units of Redcoats. They needed a bit of repainting, as the paint had flaked off where the left hand grasps the rifle, on almost every figure. That done I then resealed the touched up areas in white glue.


And I finished re basing the dismounted NNH figures.

Then it was dealing the Zulu. opened 6 baggies of them and chose the best 16 figures from each bag.

Pictures of the Zulu coming soon(tm)

I noticed as I was  dealing with the figures that the bases are really light (they are just #26 Illustration board) but I don't want to re base every figure (over 400 Zulu and nearly 100 Britons), I grabbed a couple of my Magnetic Sheets, and stuck the figures to them, it gives the bases just enough weigh.

Ignore those 6mm Napoleonics, they have nothing to do with Zulu wars.
 Then grabbed a table clothe and some almost suitable terrain. The tables at the library are 7.5x5' I marked a 6x4 area, I did eventually remember to remove 9" from each short edge as well
The British side of the table.
The Zulus table edge

Thursday, 7 April 2016

Battle of Bad Wurzach

Last Saturday Cecil and I got together to teach and play a game of Blucher, at least that was the plan.

Unfortunately the 2 players we were going to introduce to the rules, cancelled on us, but as I had put a lot of effort in to getting ready, I decided to carry on, 1 other person said they were interested, but he didn't bother showing up either.

The scenario, as originally designed was 4 200 point armies (2 per side), but as it was just the 2 of us I reduced each side to 300 points by removing a corps from each side. Cecil took the Austrians, so I got the French, and I chose to attack.

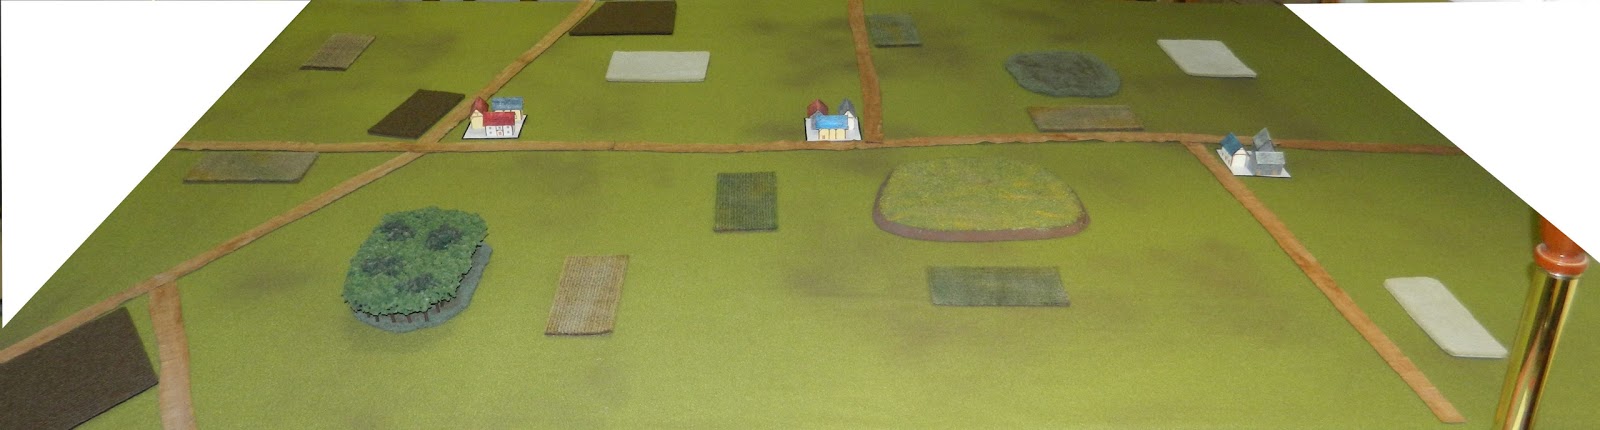
Attacker's side of the table.
Defender's side.
   The French plan was to pin the the Austrian Centre and Right while it attacked its Left. Which the Austrian countered by moving their Right forward. The French's opening shot, Heavy artillery firing on a concealed unit scored 2 hits, a bonus as it turned the target was a unit of Grenadiers. The French attack got bogged down as they attempted to reduce the Austrian infantry with skirmishing and a swirling cavalry action on the French Left, the French managed to win the cavalry action, but its cavalry was pretty well spent in spite of Ney, who was on this flank, with his rally ability as he failed every rally he attempted. The Austrians manged to cycle their units out of combat better than I could  and I broke on turn 25, 7 units lost, to the Austrians 2. Part of my inability to pull back damaged units was I thought units could not end their movement on friends, they can, they just can't end the movement phase on them, so I could have castled my front and second ranks.


I still need to work om reducing clutter on the table, or clearing it off before I take pictures.


French positions when the army morale broke.