Showing posts with label Terrain. Show all posts

Sunday, 19 May 2024

Scratch built terrain

Sratch Built terrain

The other day I was asked "Do you build terrain?" and I said .... some.

The following is most of the terrain I have scratch built.

Short (1/2 inch thick) double sided flat top hills. Need to match the colour of the thicker ones better, the other side is a desert colour.
Flat-topped (1 inch thick) wargaming hills
terrain patches ususlly placed upon the area terrain pieces

Contoured hills

Rivers

Houses

a little fenced in vegetable patch.

Wheat fields.

Plowed fields

areas to have woods, scrub, or whatever is needed placed upon.

Area terrain

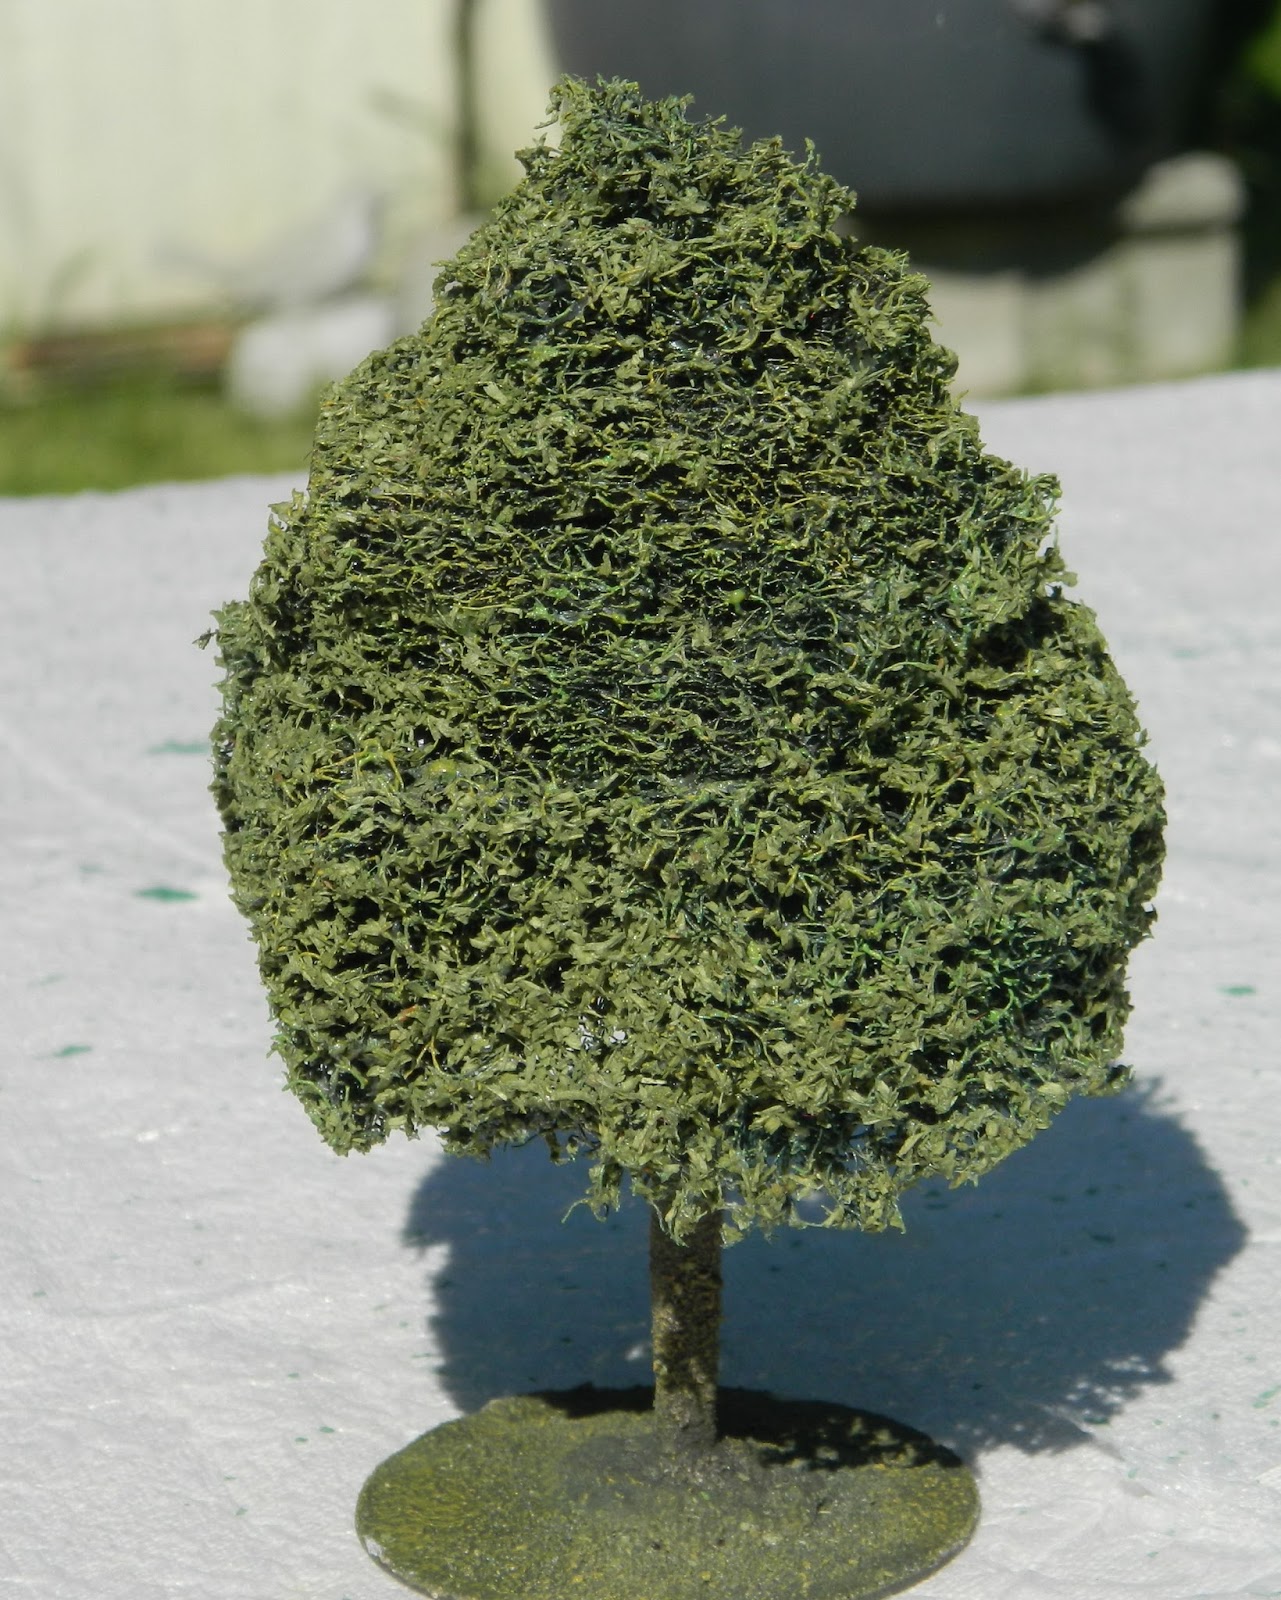
Trees, one can never enough trees,

My Wild West set is all scratch built, save a few log piles and wagons.

Friday, 22 March 2019

Snake rail fence

Snake Rail Fences


    I have been playing some "Rebels and Patriots" by Osprey wargames and am doing American Civil War in 1/72. When wargaimg actions in North America you need a lot of fencing to line your fields and roads, and plastic ones can be somewhat expensive and somewhat fragile. I decided to make some for myself.
Here is my first batch, about 57 inches.

Some Union Cavalry seek cover behind a section.

You will need:
PVA glue
Toothpicks (a lot of them)
MDF bases
Flush cutters
Plastic clothespins or twist ties
A drill with a bit same size as your toothpicks

Start by cutting a bunch of MDF bases and beveling the sides.


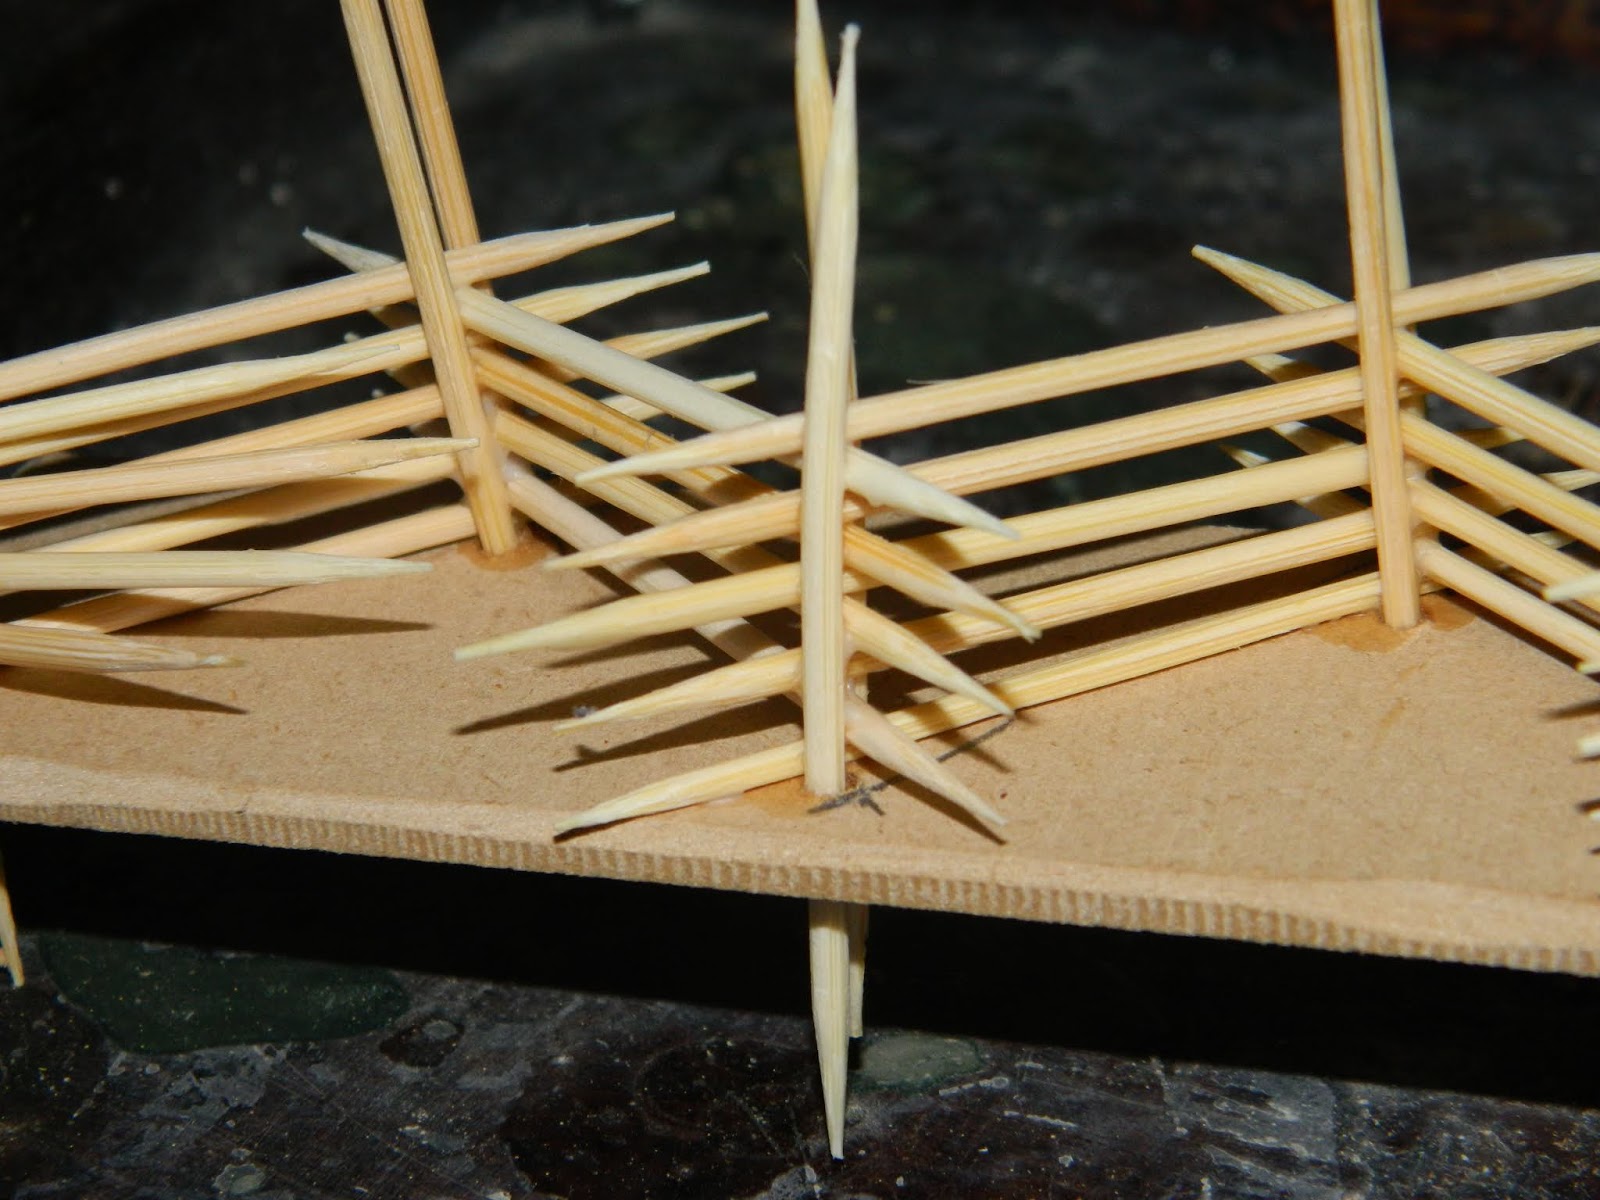
Drill a hole near one corner and then make a spot about 40mm near the other side. I made a jig so I could mark where the next hole would go.


Then drill where your marks are then drill another hole right beside it about 3mm away.

Place blobs of glue over your holes and insert a Toothpick into each hole.

Lay toothpicks flat between each pair of upright tooth picks with a generous dollop of glue, at each end of the fence place an extra toothpick that protrudes past the  base edge, this is to keep your fence height the same as in the middle.

Pile 5 layers of toothpick, then clamp the uprights together I use both clothespin and twist ties.

I use these clothespins because the small hole that clamps the tooth picks very tightly.
  Let them dry for several hours and remove the clamps.


 Get your flush cutters and cut off the ends of the toothpicks that extend past the upright (cut the end toothpicks as flush as possible with body of the fence) and above the top rail, make the cuts as ragged as possible for esthetic reasons. Then cut any toothpick that extends out the bottom of your base as flush as possible.


    Get your self a can of brown spray paint (or airbrush or paint by hand) and paint the fence and the base, let dry, then dry-brush fence a light grey. Then you can texture the base how ever you wish.

   I cover the base in brown caulking then a coating of water diluted mod podge and while still wet sprinkle a mixture of sand, ballast and tile grout over the mod podge, then a another layer of diluted mod podge then drip a few drops of green and brown acrylic washes. When that is dry I dry brush the base with a bright yellow and add clumps of foliage.

Sunday, 18 September 2016

28mm east front terrain

I needed some 28mm terrain that could stand in for eastern europe and being creative (and cheap) deciced to make my own.

I am not ready to try my hand at log houses, yet, so I went with this type of house.

I made it out of foam board and this I what I have so far.

Since I was already making one I figured I may as well make a second, so the first one wont be lonely.

And what rural house doesn't have a garden.

I think they look pretty good, but they are not done yet, though I should have angled the gable ends of the roof, well next batch.


Need to hide that join better.

Towel glued on then painted with diluted white glue aka PVA glue.

Wednesday, 6 July 2016

6mm Rivers for Blucher

Another small post.

I have needed to make some rivers for my 6mm troops, specifically for Blucher. They will work as streams in larger scales as well.

They are made the same way as my streams, just 3" wide instead of 1".

Made this bunch out of 2 signs. 7 feet 8 inches of water obstacle,

An Austrian Corps near a ford

Thursday, 30 June 2016

DIY battle mat

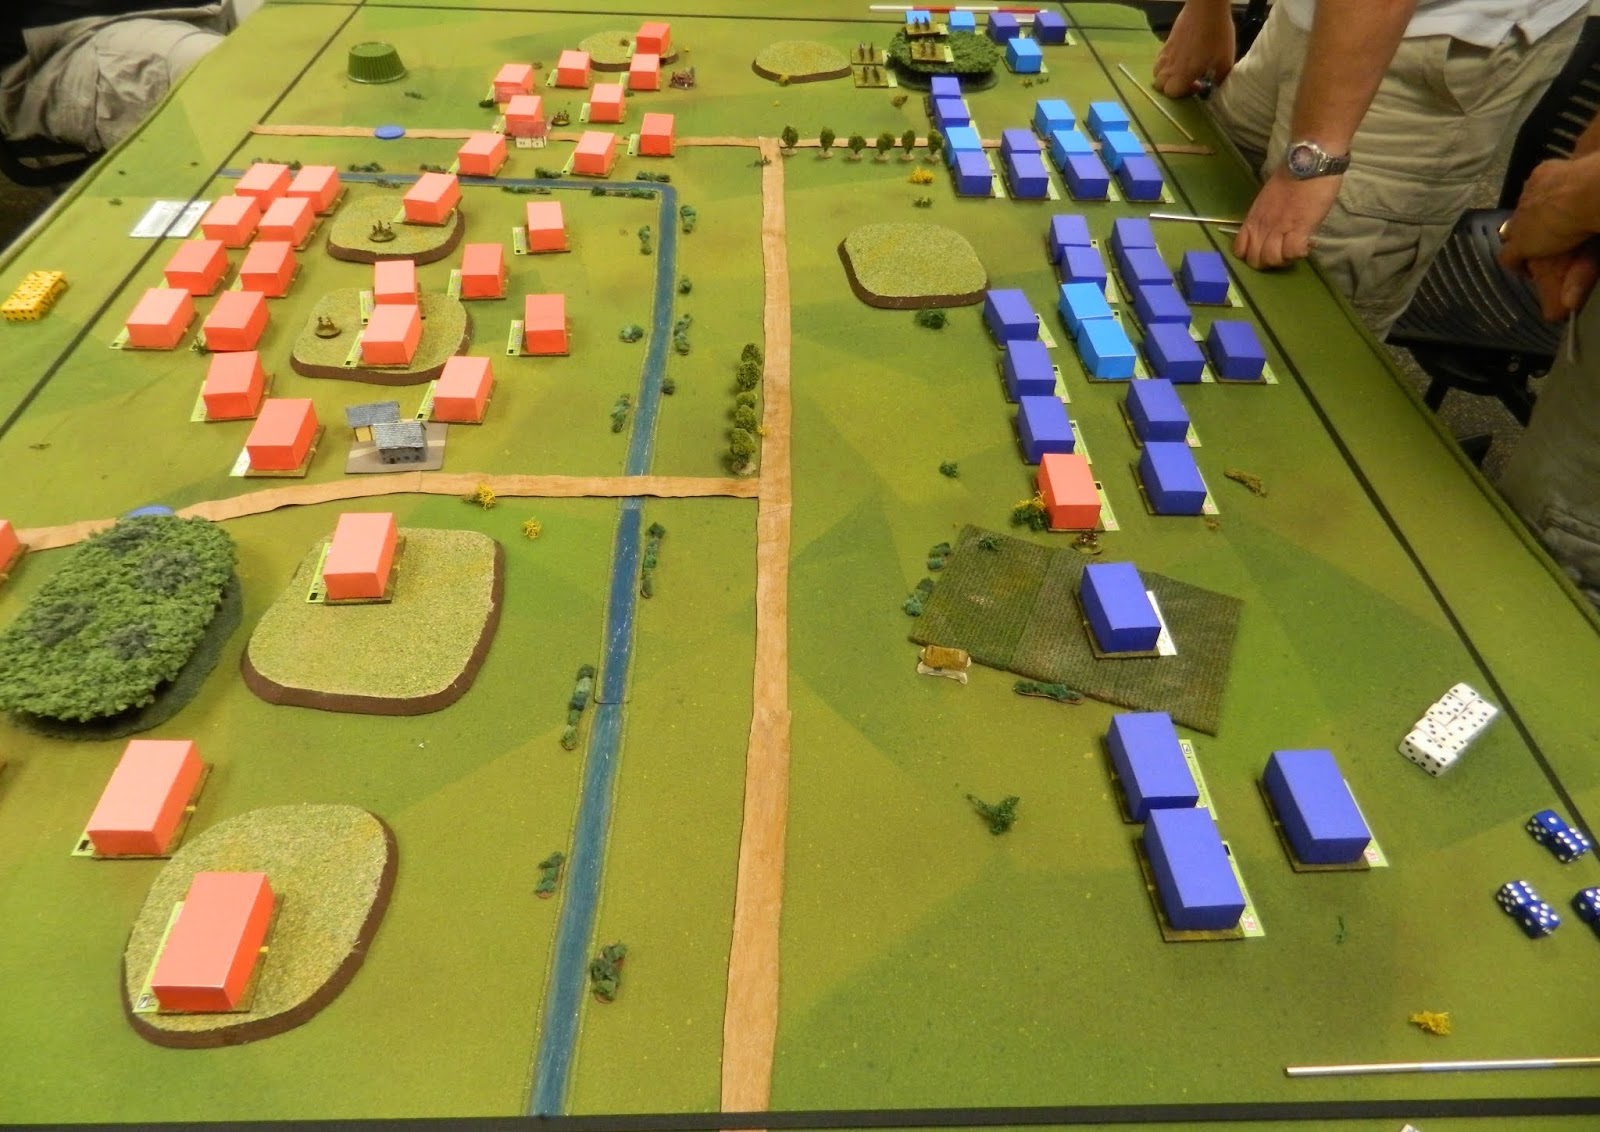
I decided to do some work on my gaming tablecloth to turn it into a battle mat for my 6mm armies.

My tablecloth is a 7.5' x 5' piece of polar fleece.

Here is what it looked like.

I was hoping to make it look like a bunch of fields. I didn't want to try and paint roads, streams or wooded or rough areas, preferring to add those in with scatter terrain pieces to keep maximum flexibility for my battle mat.
Here it is after I did some painting.
How I did it; was to heavily dilute (with water and a drop of dish detergent) some dollar store acrylic paints which I then poured into a Spray bottle that creates a very fine spray (like an atomizer). Starting with my darkest green paint I placed cardboard strips to make a rectangular fields on to the fleece and sprayed inside the field templates, then moved the strips and did another until I felt I had enough. Then moved on to a lighter green, occasionally overlapping some of the other areas, then a yellow, misting it all over the cloth, allowing the paint to dry between colors, some of the fields are not rectangular and some overlap darker colors. When the fields and overall yellow were dry I adjusted my sprayer to a stream and from some distance away shot streams of tan and later burnt umber paint onto the whole tablecloth. After everything was dry I chucked it into the clothes dryer for half an hour or so (to hopefully permanently set the paint).
Close up of my DIY Battle mat
Another close up
I am pleased with how it looks, but I may do a bit more detail work (flicking paint from a toothbrush), and fill in some of the bigger empty areas.

Here is a portion of it in use during a game

Tuesday, 21 June 2016

Random terrain building

Lately I have been in the mood to build terrain.

This weekend I made some smaller hills for my 6mm stuff.

These hills are for Blucher, I needed some that were between 2-3 Base Width for small hills. Nothing special about these hill. I made them from 1/2 thick anti-fatigue mats, that I picked up at Walmart.  I tried a new (well new to me) way to attach the flock. Normally I spread PVA and dump flocking on it while its still wet, but I was low on PVA and too lazy to go get some, so I tried acrylic caulking, I had laying around. It worked better than I hoped it hides the pattern very well, you cant tell the one that has has the pattern on the top, can you?


I also made some area terrain as a trial. This came about as a result of a discussion I saw on the facebook group The Terrain Tutor's Terrainiacs. A series of posts called Adventures/Experiments in Mastic, wherein he is making gaming matts out of mastic (acrylic caulking) and mesh joint tape. I suggested that instead of the the joint tape that landscaping fabric would be a viable alternative.


I cut two pieces of Landscaping fabric into roughly 6" squares, pumped some caulking on to them spread it out threw some small scraps of clump foliage then some flock, pressed it in slightly by covering it in Wax paper and pressing down on it, let it dry. I then sealed it with watered down PVA.

When it was dry the edges curled up a bit, but the covering stays on even when I roll it up.

Saturday, 18 June 2016

28mm tree tutorial

After I flocked the big tree I made in a previous post, I didn't like the look of it, so I tried flocking a different tree with coloured Sawdust and I liked look of it much more.

I admit its not the most realistic tree I've ever seen, but it looks good and they are a tough as old boots, the ones I made for the store have had constant use for 2+ years now and aside from 1 with a base snapped in half, they are still in great shape.
Final Product
Since the  method of construction has changed slightly since my original post, I will detail the constructions and materials used in this new post.

Materials
1mm Plastic coated wire.
Heavy duty scouring pads.
Hot glue
Coloured sawdust or similar.
Sand
1 base per tree (I use circular 50mm MDF)
PVA glue
Spray glue

I have gotten the Heavy Duty Scouring pads from both Home Hardware and Home Depot, they are located with the steel wool and are for removing flaking and/or loose paint from things you are going to repaint. A brick is 3.5"x 5" and 1" thick.
$3 for this, its a 2 pack and 3 bricks will make 2 tress.
Cut each brick into 6 roughly equal sized rectangles. Trim off the corners and edges (keep the off cuts).
Slice each piece almost in half.


Cut 8 pieces of plastic coated wire, each piece 6" long. Bend the bottom of each piece to make a L shape about 1/2" to 1/4" long.
These piees are 12" long then bent in half with the foot then added, but this is the shape your 6" pieces shold be.

Bundle the 8 pieces together, feet at the bottom. I use masking tape to hold the bundle together. Glue bundle to base.


From the foot of the tree measure about 2.5" up and bend out 5 of the wires, then measure 2" more  and bend out 2 more wires leaving the last wire standing straight up.

Cover all the tree trunk sections in masking tape, then cover all the masking tape in white glue and then pour sand on the white glue, when the glue is dry cover the sand in a diluted PVA water mix to seal the sand, let it dry again.

When it is dry again paint the trunk brown or whatever colour you want it to be, and dry brush a lighter colour.

Hot glue the scouring pad blobs to the branches. The reason for slitting your blobs almost in half, now is revealed, apply hot glue to the end of a branch then have your blob bite down on the hot glue.
Nom nom nom.
Glue your off cuts on to break up the angularity of your tree, and fill in any unsightly gaps.

At this point I spray paint my canopy black, protecting the trunk and base (if I have done the base of the tree ) with aluminium foil. I find the spray paint strengthens the scouring pad and holds the canopy together a bit. Afterwards you can dry brush the pads brown, in case you shed some of the flocking at a later date, so the bare patch will look a little bit like bare branches.

Apply spray adhesive onto your scouring pads (Again protecting trunk and base with Aluminum foil) and either sprinkle your flocking onto it or pour a bunch of flocking into a bag, poke your tree canopy into the bag and shake it. Wait for the glue to dry, give your tree a bit of a tap removing the really loose flock, and then cover the flock in a 50/50 mix of watered down PVA. For maximum flock retention I recommend doing the last stage at least twice.